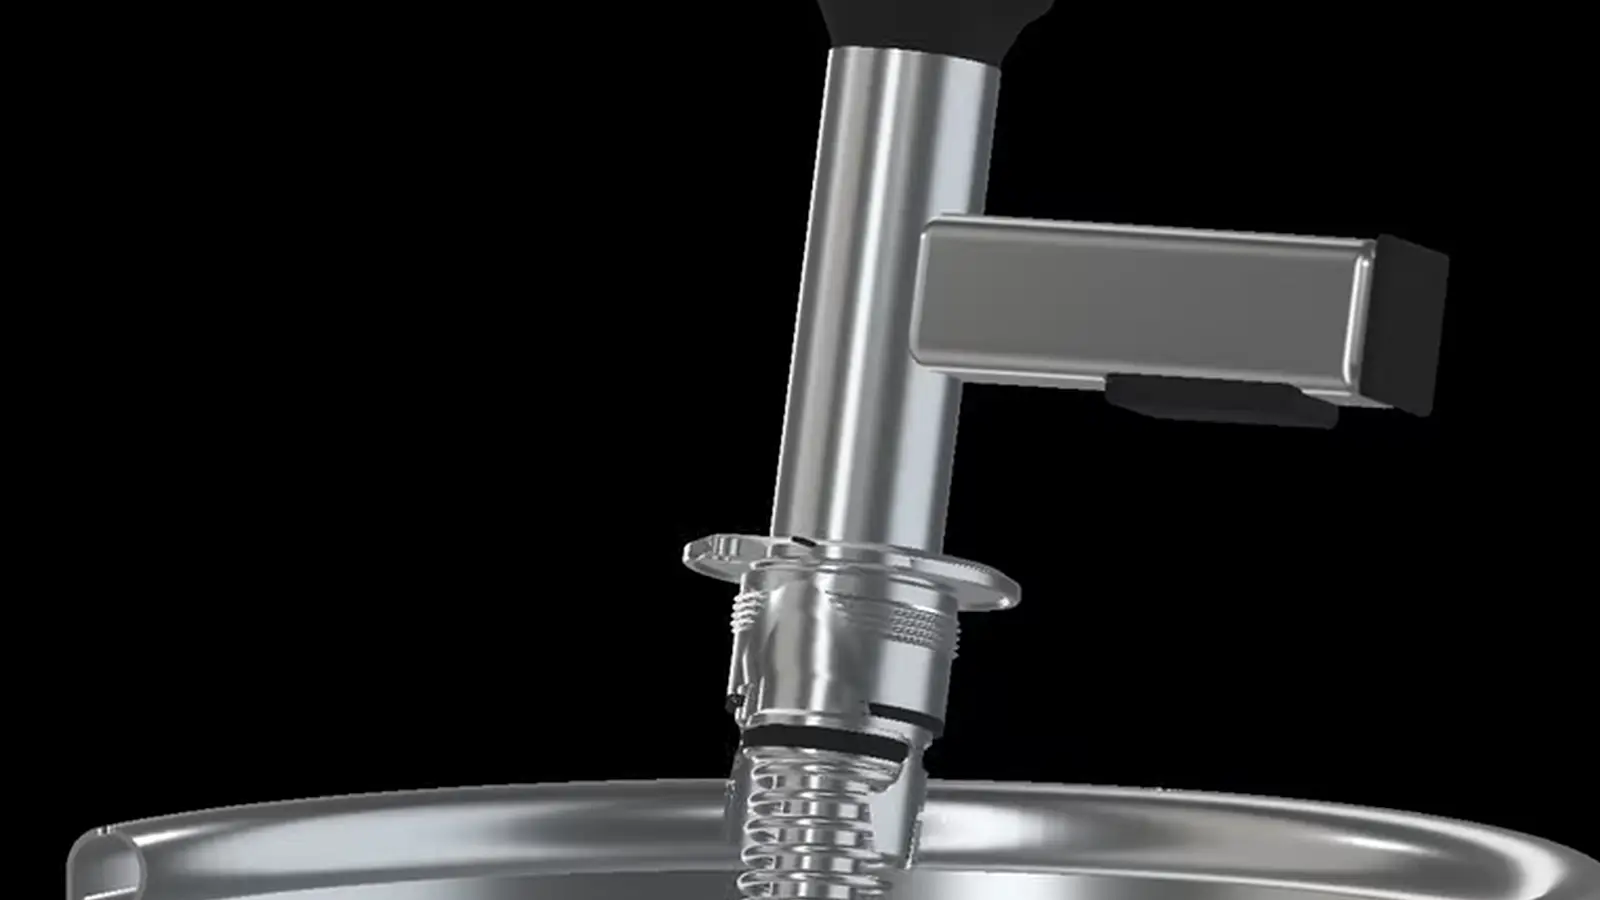
First: get the pressure out. No exceptions.
Even an empty keg still holds the pressure of the propellant gas. A spear released under pressure can be thrown out of the neck with great force, and that is life-threatening. So the keg is vented immediately before removal, until no more gas escapes – not the day before, because pressure builds up again within hours, faster in warmth or sunlight.
What this page is for
Anyone refurbishing used kegs, replacing seals or adjusting a down tube has to take the spear out. With the right tool that takes a few minutes. Without it, you damage the neck or the spear head – and in the worst case you get hurt.
The footage shows AOBAOSI spears and tools. We run the European warehouse for AOBAOSI in Miastko, where spears, tools and spare parts are held in stock. The procedures apply to spears of this design from other manufacturers as well. Tool designations and torque values do not – those are in the respective manufacturer’s manual.
Two systems, two completely different grips.On type A a safety hook holds the spear in the neck, on type S a retaining clip. Confuse the two and you end up levering.
Type A · Removal
Removing a flat spear
Two tools, two steps. First the pressure is released and the spear unscrewed, then the gun unlocks the safety lock and the spear comes out. The type G triangular spear is removed and installed in exactly the same way, with the same tools; only the head differs, and mounting disc LJT-GX-01 is used for tightening.
Part 1 · Release the pressure and unscrew
Tool
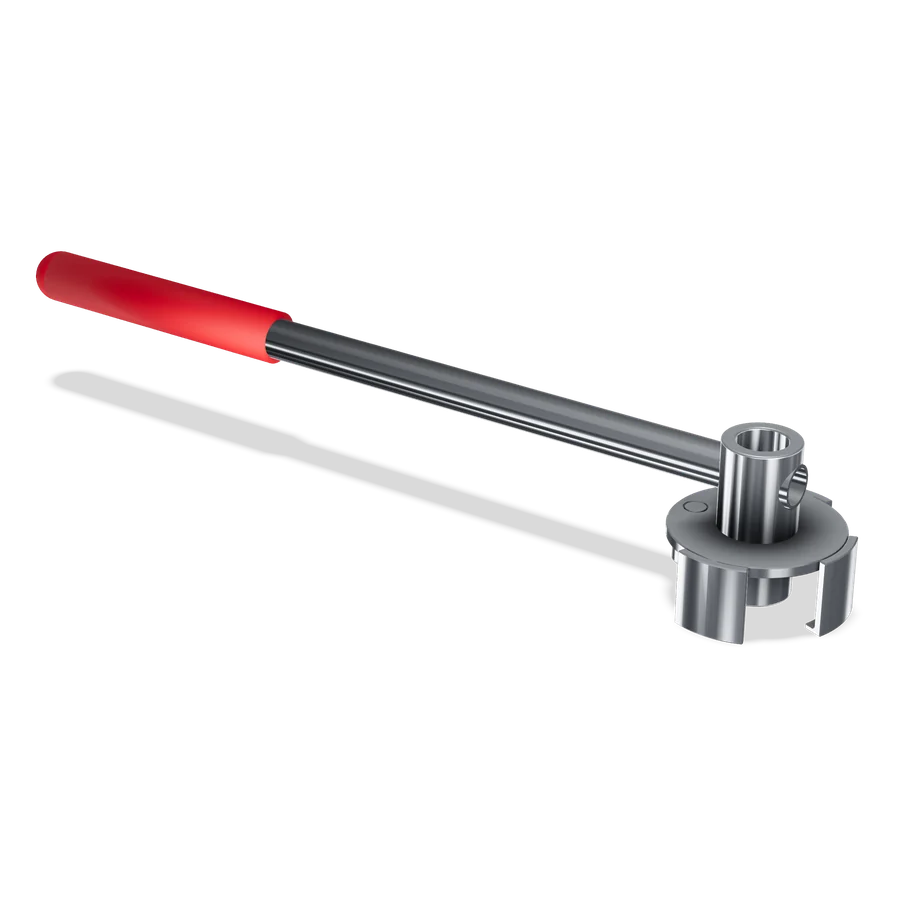 XQ-AX-01Screw-in/screw-out and decompression tool type A
Part 2 · Unlock and remove
Tool
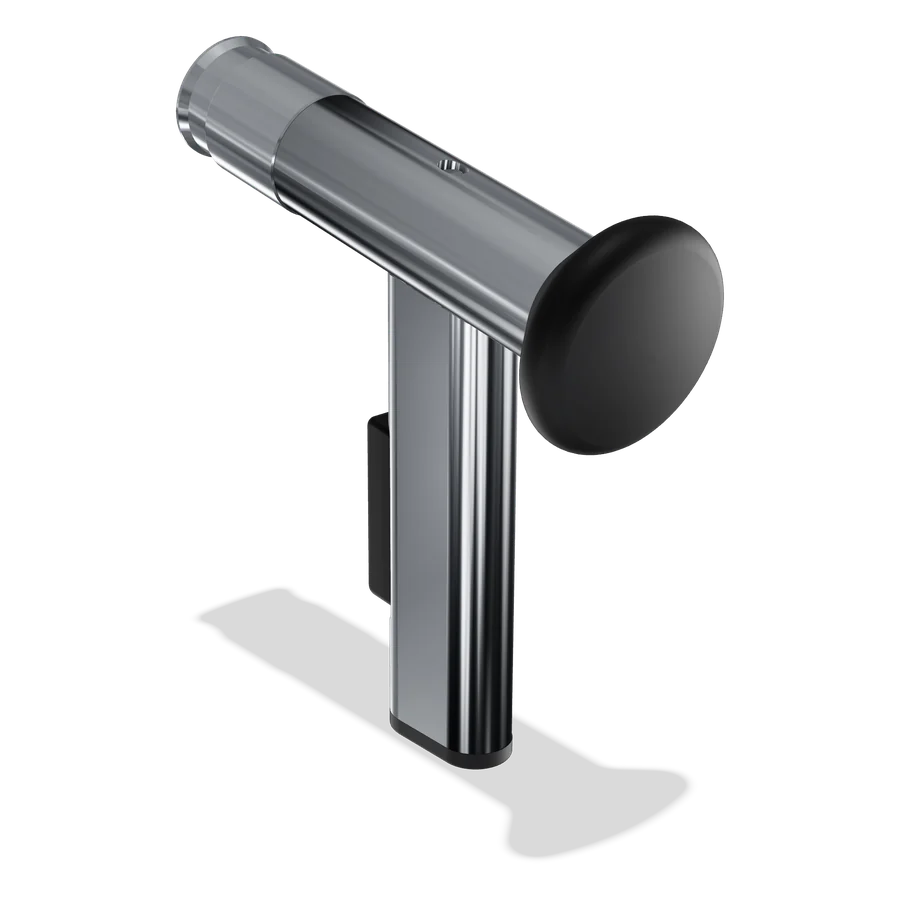 KSQ-AX-01Mounting/dismounting gun type A
Type A · Installation
Installing and tightening a flat spear
Installation is removal in reverse, with one crucial step at the end: tighten to 80 ± 5 Nm.
Tool
KSQ-AX-01Mounting/dismounting gun type A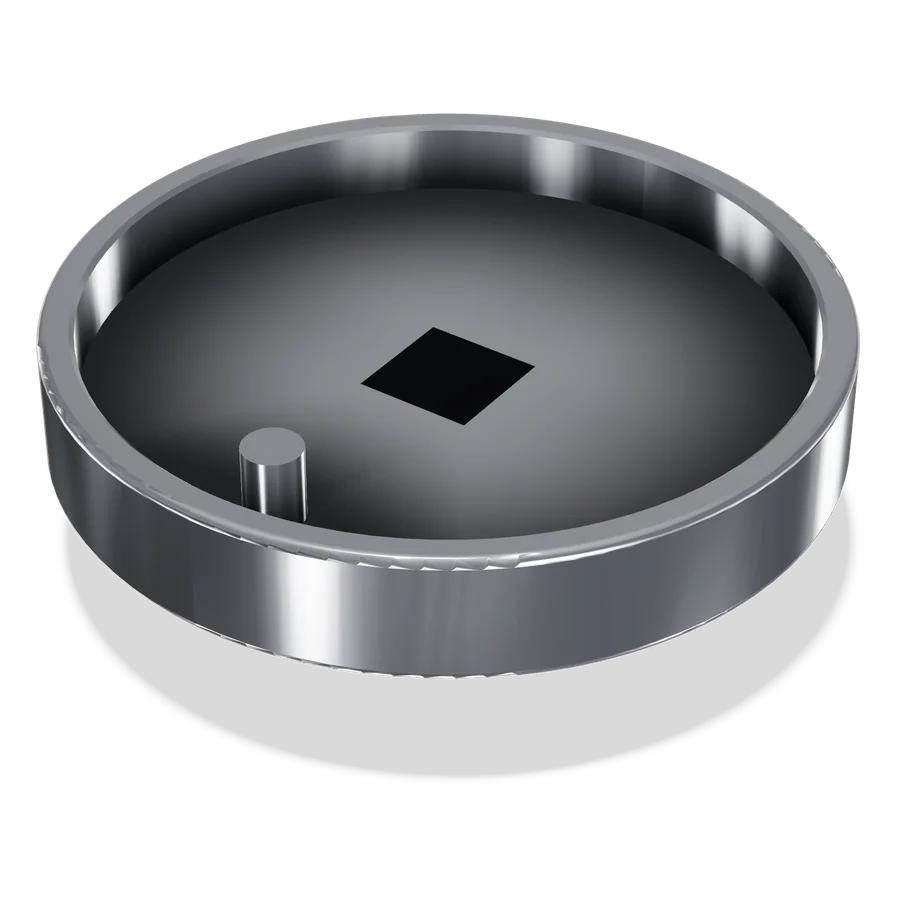 LJT-AX-01Mounting disc type A and M
The body seal is a single-use seal
After every removal a new one goes onto the spear, even if the old one still looks fine. A reused seal can leak between keg and spear body, on type A just below the flange at the edge of the neck. Beer or CO₂ escapes and the beer spoils.
Only a torque wrench actually gives you 80 Nm
Too loose and the spear loses its seat in circulation: washing, filling and temperature swings work on the joint until the seal no longer sits flush. Too tight and the body seal is crushed and the neck needlessly stressed. By feel you miss the mark in both directions.
Empty returns are checked before filling and re-tightened to 60 Nm – on the empty, depressurised keg, never on a filled one.
Type S · Removal
Removing an EU Sankey spear
With the EU Sankey spear, a single key does everything: vent, release the lock and unscrew. The only critical point is the start: the nose of the key belongs on the cam marked S.
Tool
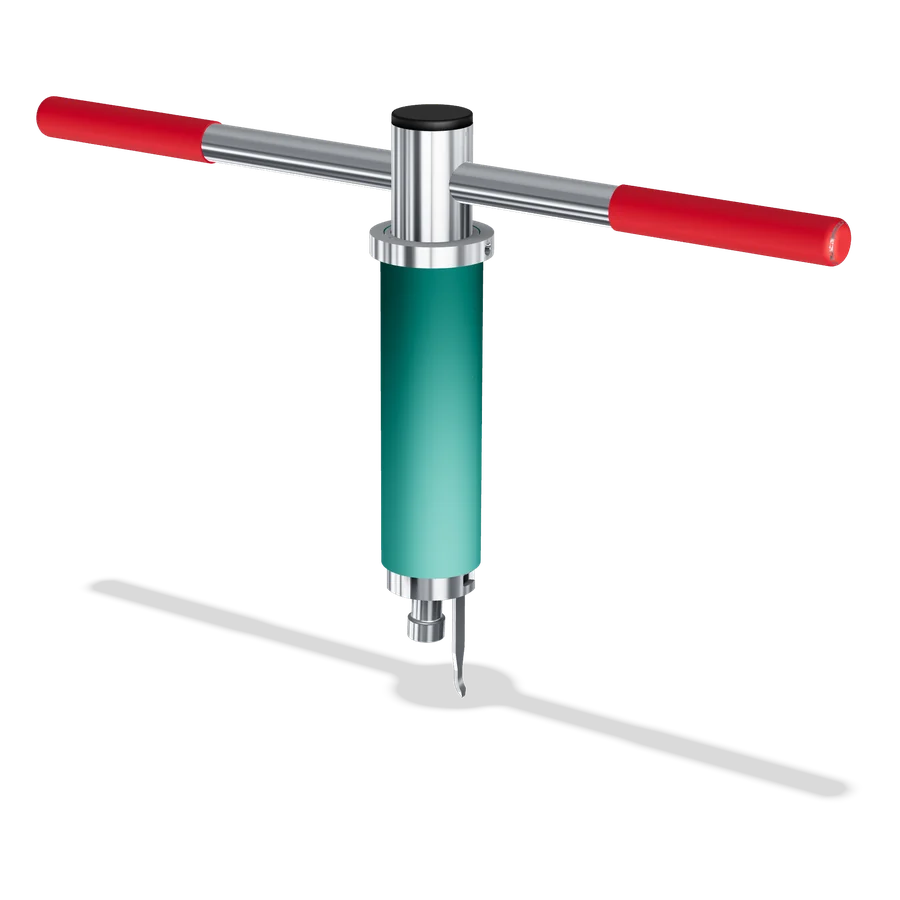 KSQ-SX-01T-key type S
Type S · Installation
Pressing in and tightening an EU Sankey spear
The EU Sankey spear is simply pressed straight in until the safety clip snaps in behind the seating surface of the keg neck. It is tightened with a mounting disc and torque wrench.
Tool
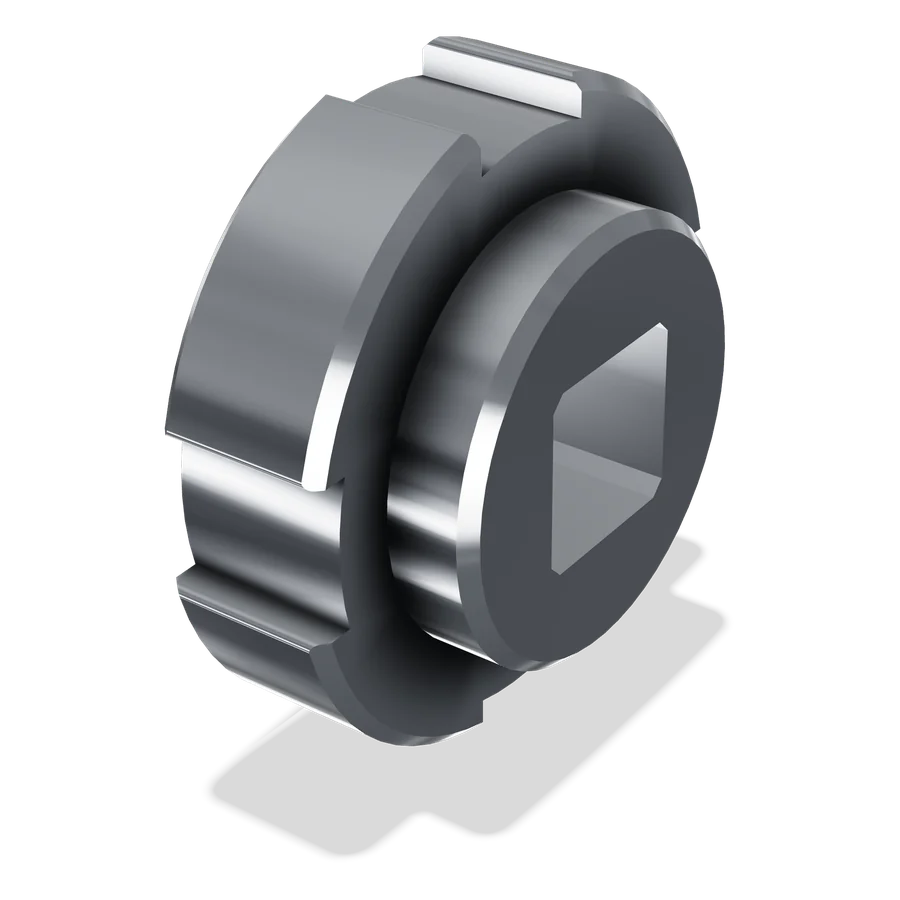 LJT-SX-01Mounting disc type S and D
For homebrewers and small breweries
If you look after only a few kegs you do not need a keg line – but you do need the right tool for the system. In this order nothing goes wrong:
- Identify the system. The flat spear type A sits on top of the neck with a round flange. The EU Sankey spear type S has no flange; its threaded head sits inside the neck, with a recess and two lugs on top.
- Get the tool for the system. Type A: screw-in/screw-out tool with pressure relief, plus the pistol. Type S: T-wrench.
- Vent the keg completely and keep a cloth ready.
- Remove the spear, check the neck and sealing faces, replace seals if needed.
- Always use a new body seal when refitting.
- Install and tighten with the mounting disc and a torque wrench.
- Pressurise with CO₂ and check the neck for leaks: with food-grade leak detection spray, or with water and a little washing-up liquid.
- Re-tighten empty returns to 60 Nm before filling.
If you want to shorten a down tube, work out the length first: the down tube calculator shows the bottom clearance you are left with and how much beer stays behind in the keg. Unsure about the system? The overview of spear types helps you identify it.
Rather hand it over?
We strip spears completely, clean them ultrasonically, replace all wear parts, measure spring pressure and refit with calibrated torque. New spears, seals and tools are in stock in Miastko.