Why it almost always pays off
A new 30 l EURO keg costs around €83 net in the trade. A reconditioned keg of the same type costs considerably less with us; the current price is in the shop. The difference sounds manageable until you multiply it by the number of kegs a brewery actually has in circulation.
The real point, though, is a different one. A keg that is reconditioned has not yet finished its use phase – and ecologically the use phase beats every recycling route. Of the stainless steel collected worldwide at end of life, only around a quarter comes back as stainless steel. The rest drops one material class.
On top of that comes a point the manufacturers set down themselves: one manufacturer gives a 30-year warranty on weld seam tightness and corrosion protection and makes it expressly conditional on the kegs being serviced every seven years. That maintenance is precisely our business – and anyone who skips it loses not only substance but also the warranty.
A keg only earns its money on the second, third, thirtieth trip.That is why the question is never “repair or throw away” but “repair or replace”.
What happens in one run
Eleven work steps, not all of them on every keg. What a keg needs is decided by the incoming inspection – we work to a fixed catalogue and document the condition before anyone picks up a tool.
Delivery and inspection
Every keg is recorded individually. Keg type, capacity, spear type, year of manufacture, visible defects. Markings from other breweries are recorded separately – those take a different route.
Straightening the geometry
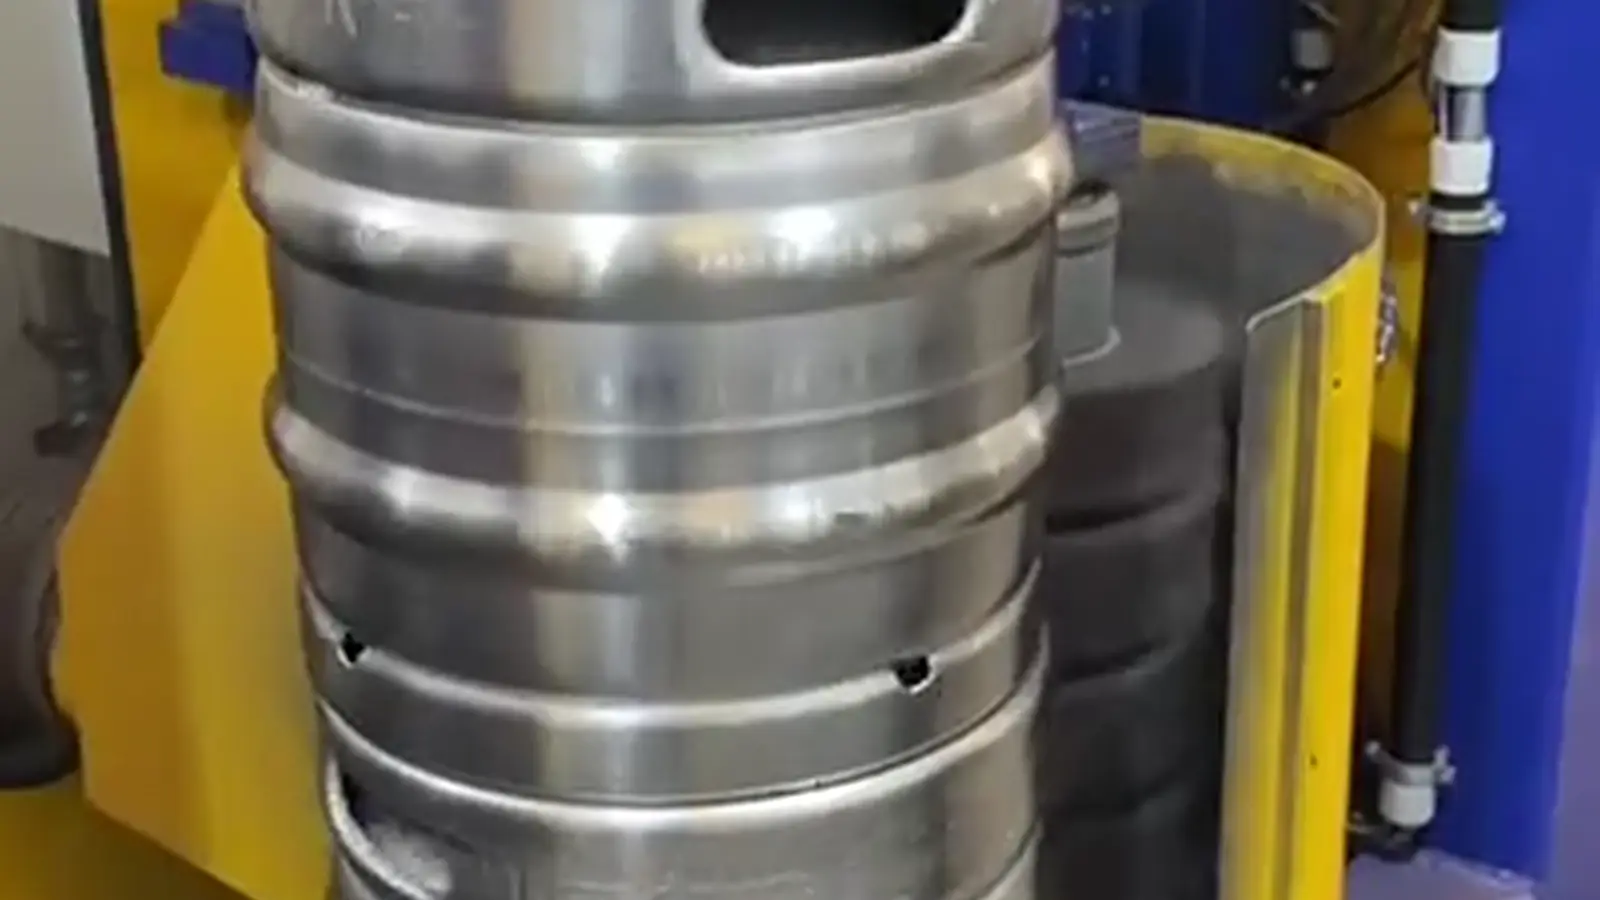
Aligning the bottom and top chime, removing dents from the top and bottom chime, restoring the stacking edge. A distorted chime is the reason a keg wobbles on the pallet and costs space in the warehouse. It also makes the keg run properly on the keg line again.
Aligning the neck
The neck carries the spear and with it the entire operating pressure. If it sits crooked, it also misdirects the cleaning jet – the keg never gets properly clean, however long the CIP runs.
The position of the neck decides whether a keg can be filled at all. Its height matters just as much: we measure it and adjust it if it is not right.
Pre-clean and beerstone
The keg is roughly pre-cleaned inside and inspected for beerstone and other deposits. Whatever we find is removed with acid applied where the deposit sits. The outside is cleaned and polished later.
What does not happen here: a full cleaning cycle with caustic and acid, followed by sterilisation. The box below explains why.
Neutralising the old marking
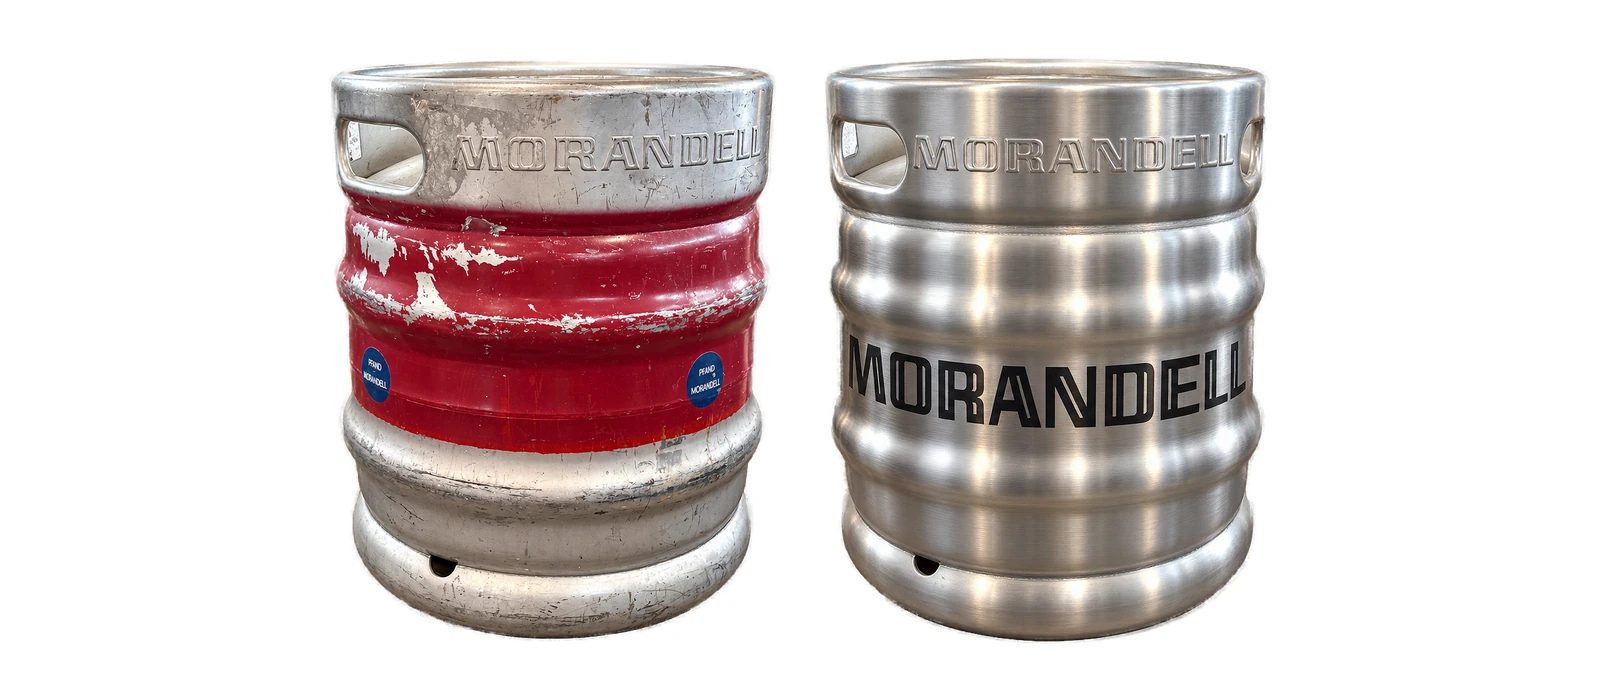
Third-party logos, stickers and colour rings are removed. A brewery name embossed into the top chime cannot be taken away – it is made illegible with a counter-embossing.
We do this only on kegs whose ownership has been established.
New electrolytic marking
Your logo, your serial number, applied permanently into the surface. No film, no sticker, nothing that disappears after thirty trips.
Colour marking
Rings or bands to distinguish varieties, capacities or vintages – if you need it.
Checking or replacing the spear
It is either overhauled or replaced. That is a process of its own, which we describe on a page of its own. If the down tube does not match the keg length – after a volume reduction or with a spear from another source – it is shortened and the cut edge deburred.
Polishing
Not merely cosmetic: the polish smooths the surface and makes it homogeneous – only on that do electrolytic engraving and laser marking sit cleanly and stay easily legible.
Incidentally, the keg then looks almost as good as new, and a keg that looks new is treated that way by the hospitality trade.
Test pressure and immersion tank
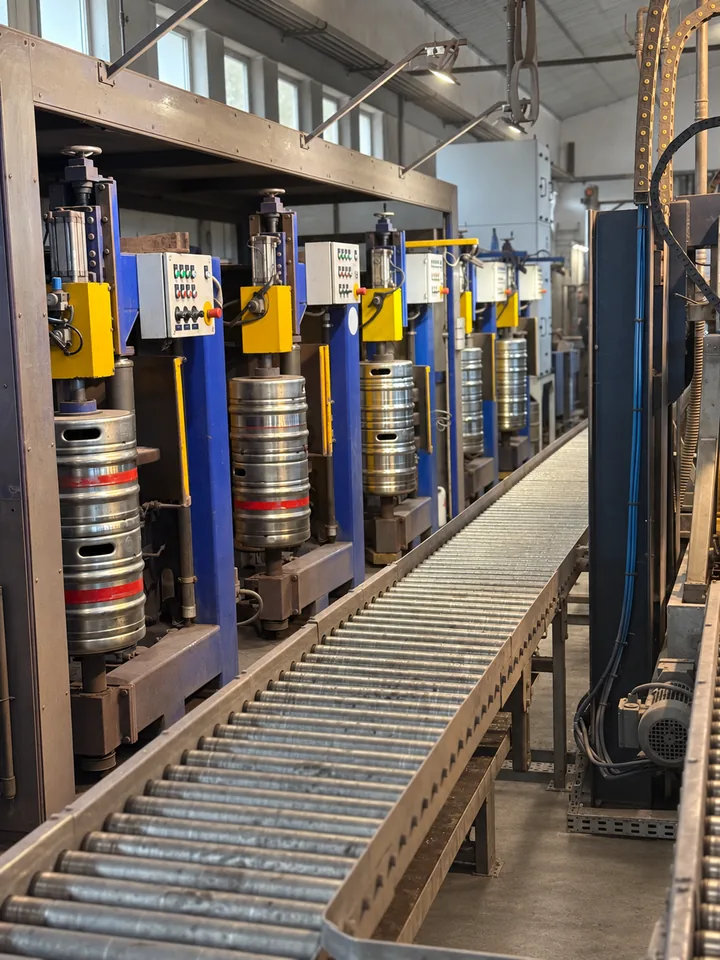
After the spear has been screwed in, every keg is put under test pressure and immersed. Leaks at the spear, at the spear seat and on the keg body show up as bubbles. Whatever fails here goes no further – and because the immersion tank stands at the end, no keg leaves the works that is not demonstrably tight.
Final check and allocation
Visual inspection, allocation to your stock, shipping anywhere in Europe or storage with us.
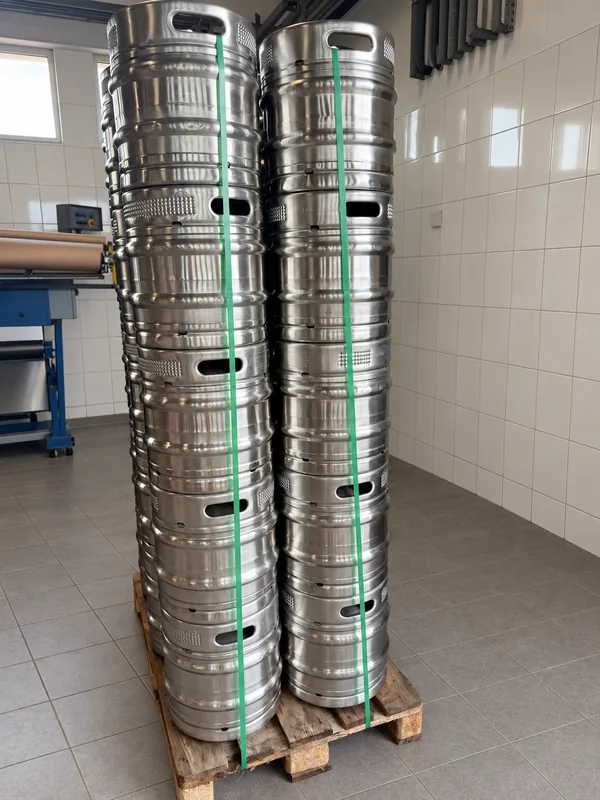
Packing comes last: the kegs are strapped onto the pallet with lashing straps and then wrapped in stretch film. Only then does the pallet go to dispatch.
Where our cleaning stops – and why that is deliberate
We pre-clean the keg roughly on the inside and remove beerstone and other deposits, applying acid where the deposit sits. We do not run a full cleaning cycle with caustic and acid, and we do not sterilise.
That is not a gap in the process but the correct division of labour. Sterility is not a condition a keg keeps. It is a condition for the moment. A keg that leaves our works sterilised and then stands on a pallet at the customer for three weeks is no longer sterile when it is tapped – residual water inside is enough for something to settle again. We would be selling something that expires in transit.
That is why cleaning with caustic and acid, and sterilisation, belong immediately before filling and therefore in the brewery. They run there anyway: every keg filling line cleans and sterilises the keg in the same cycle in which it fills it. What we deliver is a keg in a condition that allows that cleaning – bright enough for the cleaning medium to reach everywhere, and free of beerstone, under which something would otherwise survive.
Anyone placing an order with us should have planned for this. If your kegs do not go through a filling line of your own after refurbishment, talk to us beforehand – that is a different job.
What you can also order individually
The complete overhaul is the package. But every step in it is also available on its own – and sometimes that is exactly the right order, for instance when only the spears are due or a batch is to be re-marked.
| Service | What happens |
|---|---|
| Removing the spear | Venting the keg safely, unscrewing the spear, taking out the down tube. |
| Overhauling the spear | Dismantling, ultrasonic cleaning, new square seal and CO₂ valve, springs after measurement. |
| Shortening the spear | Shortening it to the keg length, deburring the cut edge, securing the spear in the keg. The right length is worked out by the spear length calculator. |
| Installing the spear | Screwing it in at the manufacturer’s torque, then test pressure and immersion tank. |
| Straightening the geometry | Straightening the top and bottom chime, aligning the neck. Neck and spear then stand parallel to the filling line again. |
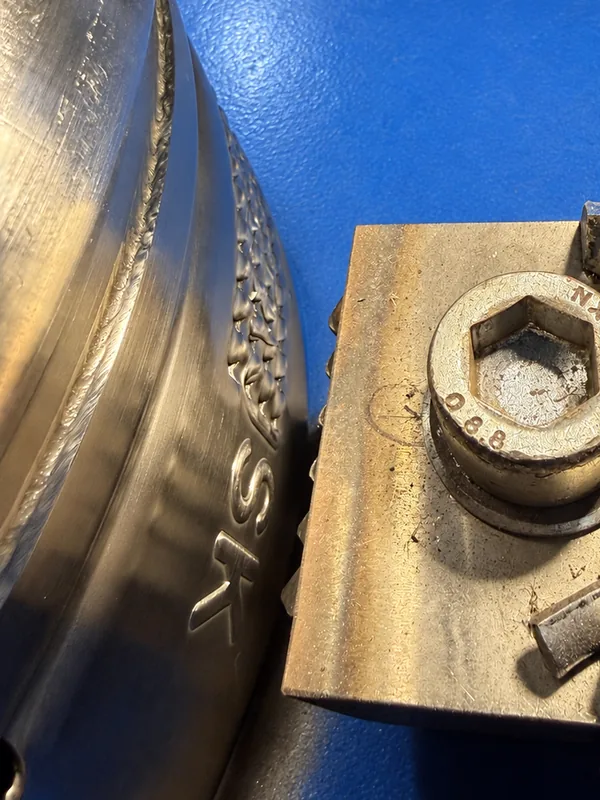
| Repairing the weld seam | Welding cracked chimes or necks properly – then pickling, passivating and pressure testing. |
| Neutralising the old embossing | The brewery name embossed into the top chime is made illegible with a counter-embossing. |
| Etched marking | Electrolytic, permanent: lettering, logo, serial number. |
| Screen printing | Lettering or logo on the keg body or on the top and bottom chime. |
| Band | A film sticker running all the way round, protective-laminated. |
| Applying a colour ring | A heat-resistant strip of paint in your house colour. |
| Removing a colour ring | Before new branding or on return of kegs. |
| Marking plate | Metal plate, spot-welded – covers an old embossing. |
| Retrofitting a transponder | RFID tag, welded on for a permanent hold and reliable reading. |
| Replacing plastic rings | PP top and bottom rings on the designs that provide for them. |
| Reducing the capacity | 50 to 30 or 20 litres, see below. |
Volume reduction: 50 to 30 or 20 litres
This is the step that is asked about least often and fits most often. Within one series, DIN and EURO kegs differ only in cylinder height, not in diameter. A 50-litre keg can therefore be shortened to 30 or 20 litres and re-welded.
It makes sense wherever the market has shifted: if 50-litre containers are left standing in pubs because the keg is no longer emptied within the period after tapping, a stock of shortened 30s is worth more than a warehouse full of 50s.
What necessarily goes with it
After shortening, the embossed capacity is no longer correct. It is replaced, otherwise the keg is unusable for filling and, in case of doubt, open to challenge under weights and measures law. That is part of the order and is not charged separately.
And one restriction: for the shortening a piece is cut out of the shell, after which two new weld seams have to be laid so that the rolling rings stay in position. That only works cleanly on kegs that are not too badly dented – a certain amount of rejects always has to be reckoned with. If that is too uncertain for you: we also buy 50-litre kegs and supply 30s in return.
What cannot be repaired
Being honest about the limits saves both sides time. These findings lead us to scrap a keg rather than repair it:
Leaking weld seam
A seam that lets beer or gas escape is not a case for rework. The vessel goes for recycling.
Frost damage
A filled keg that freezes through expands. The wall is stretched afterwards and the wall thickness locally reduced – even if there is barely anything to see from outside. In our experience this is the most expensive avoidable damage there is.
Signs of overpressure
Bulged shape, burst disc triggered. The vessel was beyond its design limits.
Aluminium keg
No longer in circulation. Here recycling is the right route, and the material value is decent.
Almost everything that looks like serious damage can be repaired. And some things that look harmless cannot:
| Repairable | Scrapped |
|---|---|
| Dents in the shell | Bent neck |
| Bent chimes | Damaged neck thread |
| Beerstone and deposits | Dented base |
| Worn seals and springs | Leaking weld seam |
| Third-party or worn marking | Frost damage |
| Dull, scratched surface | Signs of overpressure |
| Defective spear | Aluminium kegs |
The practical consequence: look first at the neck and at the chime. If both are straight and undamaged, the keg is very probably a case for reconditioning – regardless of how battered it otherwise looks.
Pressure and pressure testing
The pressure test is part of the complete overhaul, and with it come a few figures that regularly get mixed up in day-to-day operation. The permissible operating gauge pressure is embossed on the keg – on beer kegs it is no more than 3.5 bar. Testing is done at the manufacturer and at inspections with up to 10 bar, and at the maintenance interval, following the manufacturer’s commitment, with up to 6 bar.
The figure you rarely hear, by contrast: the weak point is not the vessel but the seal in the spear. It lifts out of its seat at about 6 to 10 bar and releases the pressure – long before anything on the keg body gives way. That is intended by design: a seal fails slowly and in a controlled way, a vessel would fail all at once. What that looks like in summer export we have recalculated from an expert report by TU Munich.
Pressure testing only on a filled keg
A test pressure is always applied with water or another liquid medium. Putting an empty keg filled only with air under test pressure is life-threatening – even when nothing happens.
The DGUV puts a figure on the difference: at the same pressure and the same volume, the stored strain energy of a gas pressure test with air is to that of a liquid pressure test with water as roughly 14,000 to 1. Just five per cent air bubbles in the test water raise the energy to around seven hundred times – which is why air is bled off during filling.
Water is practically incompressible: if the vessel bursts, the pressure is gone at once. Air is a loaded stack of springs – it discharges all at once and turns sheet metal into projectiles.
In practice that means: you do not test for leaks with the compressor on an empty keg. A filled keg, a water bath, a good eye – and testing at real test pressure belongs with the manufacturer or in a workshop equipped for it. In detail in the glossary.
What the EU packaging regulation requires of reconditioning
Regulation (EU) 2025/40 has applied since 12 August 2026. In Annex VI Part B it contains something that did not exist in Europe before: a binding description of what reconditioning is. Six operations are named – assessment of the condition, removal of components that cannot be reused, sending those parts for recovery, cleaning under the prescribed hygiene conditions, repair, and a final assessment of fitness for use.
That is the process you read about above. We did not adapt it to the regulation; it was already there in that form. What changes is the proof: an assessment of fitness for use per keg cannot be documented without identification of the individual keg. That is exactly why we are building up keg identification.
The timeline matters. The regulation applies, but the obligations for transport packaging only take effect on 1 January 2030, and the marking obligation with an open digital data carrier at the earliest on 12 February 2029. Anyone telling you today that your kegs have had to meet something since 2026 has not read the text of the regulation. In detail in the technical article.
Send us your stock
For a sound quotation we need keg type, capacity, quantity and a few photos. With larger stocks we look at the kegs on site.