The list that explains nothing
“Straightening chimes · Checking geometry · Straightening the neck · Neutralising · Marking · Colour ring · Pressurising · Interior cleaning · Outer washing · Removing beerstone · Polishing · Volume reduction.” That, or something like it, is what every supplier's page says, ours included. Twelve keywords, no explanation.
For a buyer that is worthless. Two workshops can print the same list and deliver completely different work – the difference lies in what happens between the keywords. So let us go through them.
First the shape, then the cleanliness
A used keg rarely comes back round. It has been dropped, stacked, rolled and clipped by forklifts. What follows from that is the order of the work: first the geometry is restored, then the keg is cleaned. The other way round would be wasted effort.
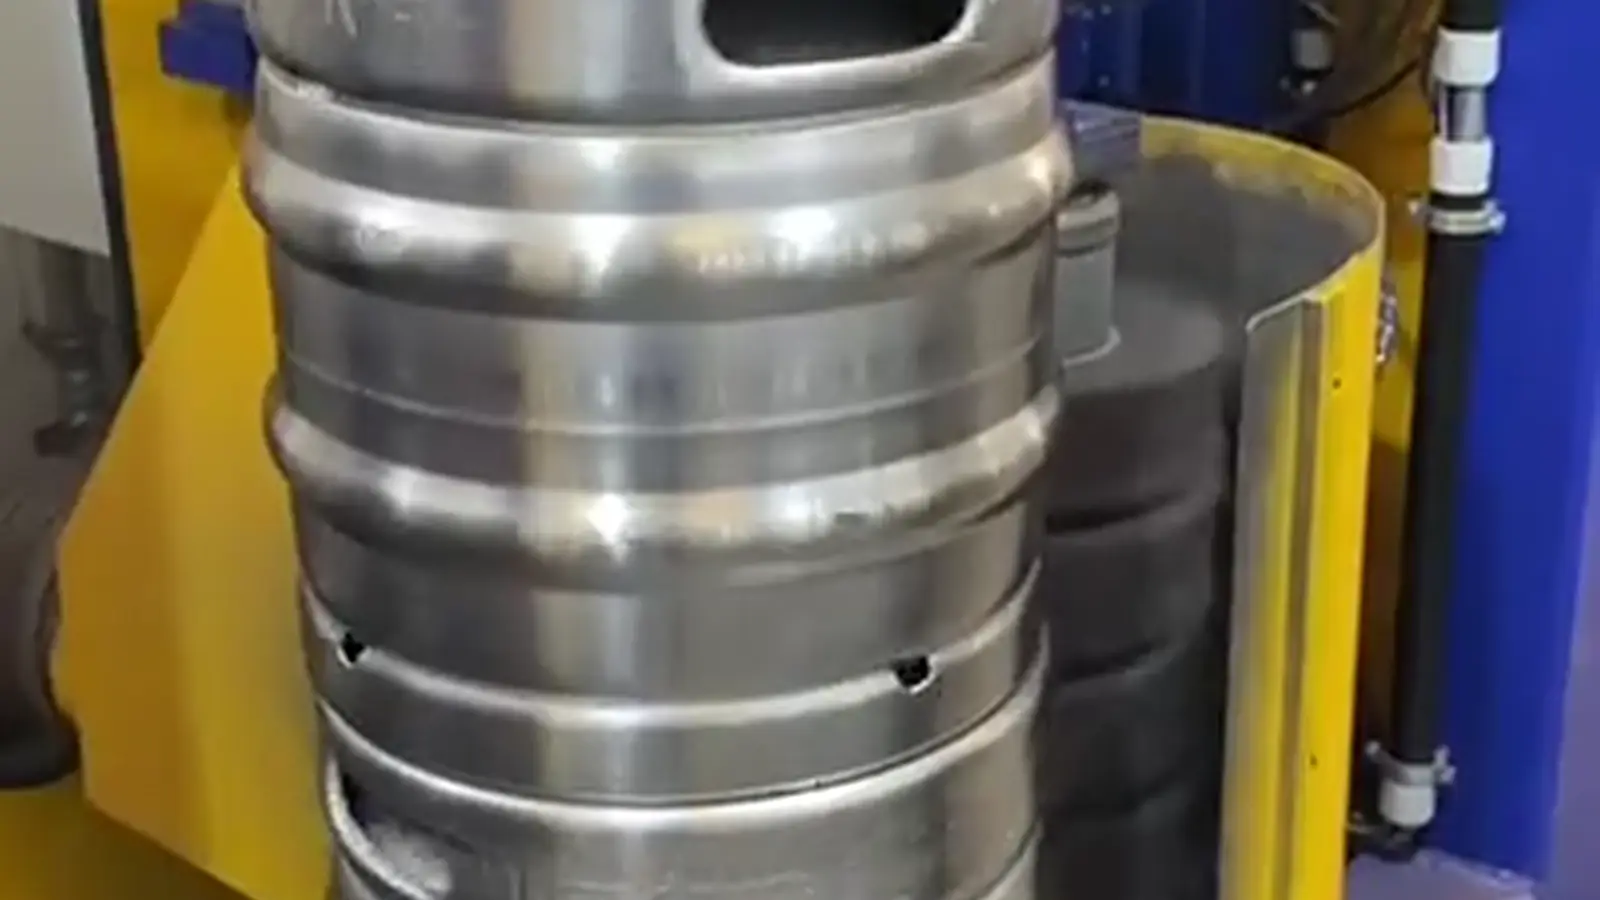
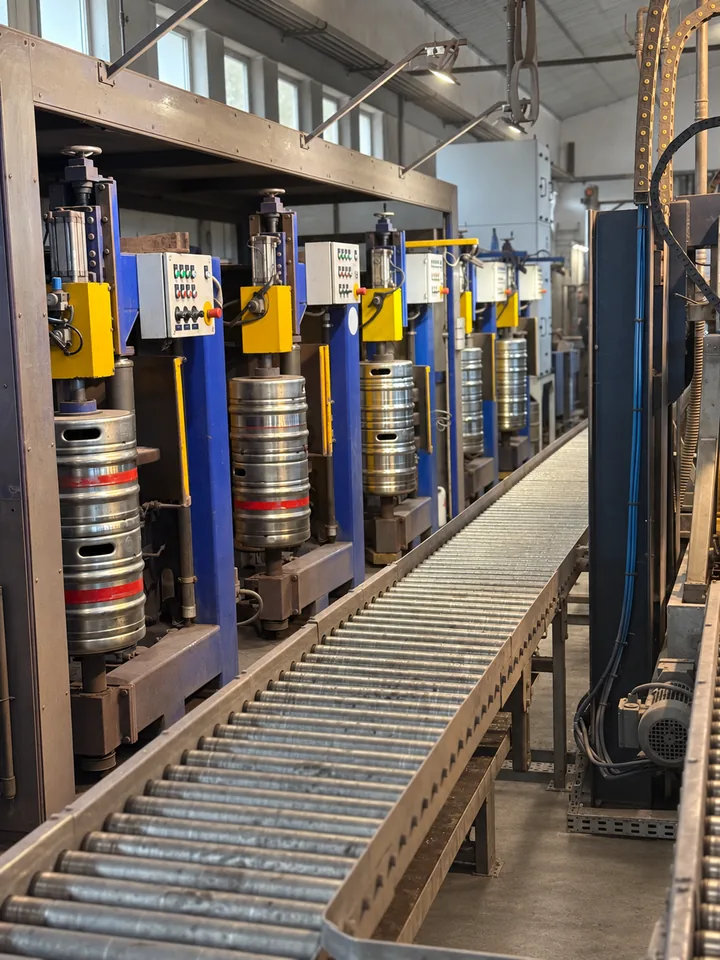
Straightening the top and bottom chime
The rings at the top and bottom carry the entire stacking weight. If they are bent, the keg stands crooked, jams in the washing plant and can no longer be stacked safely. Straightening is done mechanically, against a gauge.
Checking the geometry
Height, diameter, roundness against the nominal dimensions of the keg type. This is the point at which it is decided whether a keg goes any further at all – a dented base or a distorted shell are reasons for scrapping, not a repair job.
Straightening the neck
The neck is the threaded part in the keg head. If it sits crooked, the spear sits crooked, does not seal cleanly and is loaded on one side when coupling. A bent neck is the most common reason why an otherwise intact keg is scrapped – and the reason why that is the first place to look at incoming inspection.
Only when the shape is right does the actual reconditioning begin.
Cleaning is not rinsing
Neutralising
Residues from the previous use – beer, cleaning agents, foreign media – are chemically neutralised before anything else happens. A keg that goes into the next stage with caustic residue in it falsifies that stage.
Interior cleaning
Through the spear, with the media and temperatures the spear will take. What that looks like in section we have animated in sixteen steps.
Removing beerstone
The real test. Beerstone is calcium oxalate with a protein content, insoluble in water and only to be dissolved with acid. It is rough and cracked – and micro-organisms survive in exactly those places where no cleaning agent reaches. Run this step too weak and then sterilise with steam, and the residue bakes on. A cleaning problem becomes a permanent one.
Outer washing and polishing
Polishing is regarded as the cosmetic step. It is not. The polish smooths the surface and makes it homogeneous – and only on that do electrolytic engraving and laser marking sit cleanly and stay legible. On a dull, uneven surface every marking turns patchy.
Two side effects come with it. The smoothed surface gives dirt less to hold on to. And a polished keg shows dents, scratches and the beginnings of corrosion that were invisible before – polishing is therefore also preparation for inspection. In the end the keg looks almost as good as new.
A step that is on no list
Where welding has been done, pickling and passivation belong with it. Pickling removes temper colours, contamination and embedded free iron; passivation rebuilds the protective chromium oxide layer that makes stainless steel corrosion-resistant in the first place. It needs around twenty-four hours to reach full effect. What is expressly meant is the welding operation – a volume reduction, a neck replacement, a seam repair. After polishing it is not needed. The American industry association lists both as mandatory, expressly for reconditioned kegs as well and not only for new ones.
Where our work stops – and why that is deliberate
The seven steps above describe what a complete overhaul covers technically. We do not do all of them. That is a deliberate boundary, and it should be clear before an order is placed.
With us the interior cleaning is a pre-clean. We clean roughly, inspect every keg for beerstone and other deposits and remove what we find, applying acid where the deposit sits. We do not run a full cleaning cycle with caustic and acid, and we do not sterilise.
The reason is practical, not commercial. A keg that leaves the works sterilised and then stands on a pallet at the customer for three weeks is no longer sterile when it is tapped. Residual water inside is enough: where moisture remains, something settles again, and nobody can see it from the outside. Sterilising in advance sells a safety that expires in transit.
That is why cleaning with caustic and acid, and sterilisation, belong immediately before filling. They run there anyway: every keg filling line cleans and sterilises the keg in the same cycle in which it fills it. A second pass at the refurbishment works would not merely be ineffective, it would be double the chemicals and double the energy for nothing.
What that means at handover
What we deliver is a keg in a condition that allows the brewery's cleaning to work: bright enough inside for the cleaning medium to reach everywhere, and free of beerstone, under which something would otherwise survive. That is precisely the point of removing beerstone – it creates what the brewery's CIP plant needs in order to be effective. If your kegs do not go through a filling line of your own after refurbishment, tell us beforehand. Then it is a different job.
The spear is a job of its own
The vessel is a piece of stainless steel with no moving parts. The spear is a mechanism of rubber, steel and springs that is coupled up, flowed through, flushed with hot caustic and hit with steam on every trip. It wears – and that is why it has a sequence of its own.
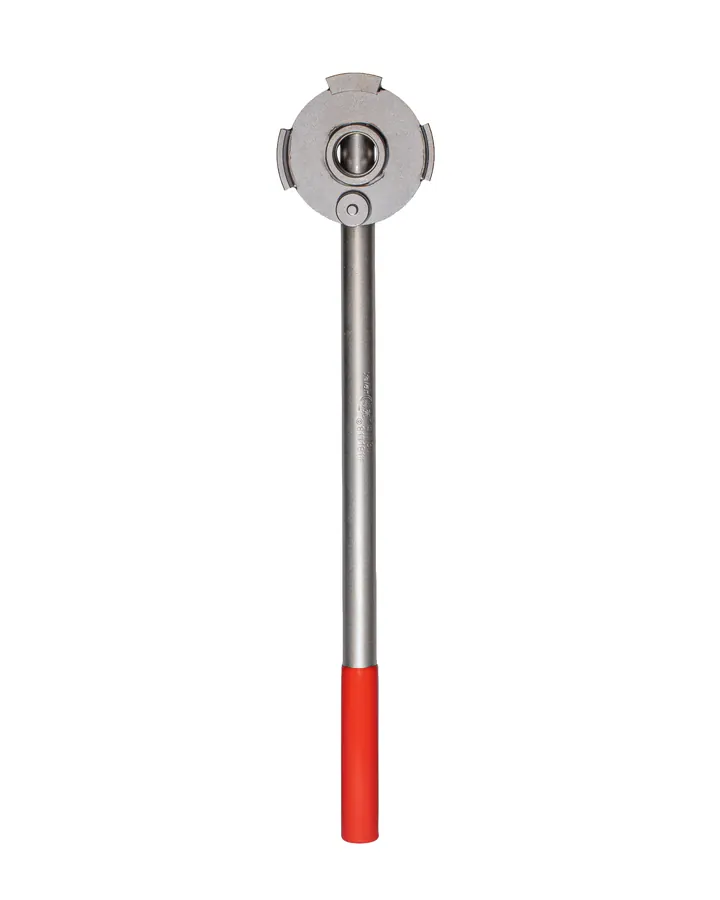
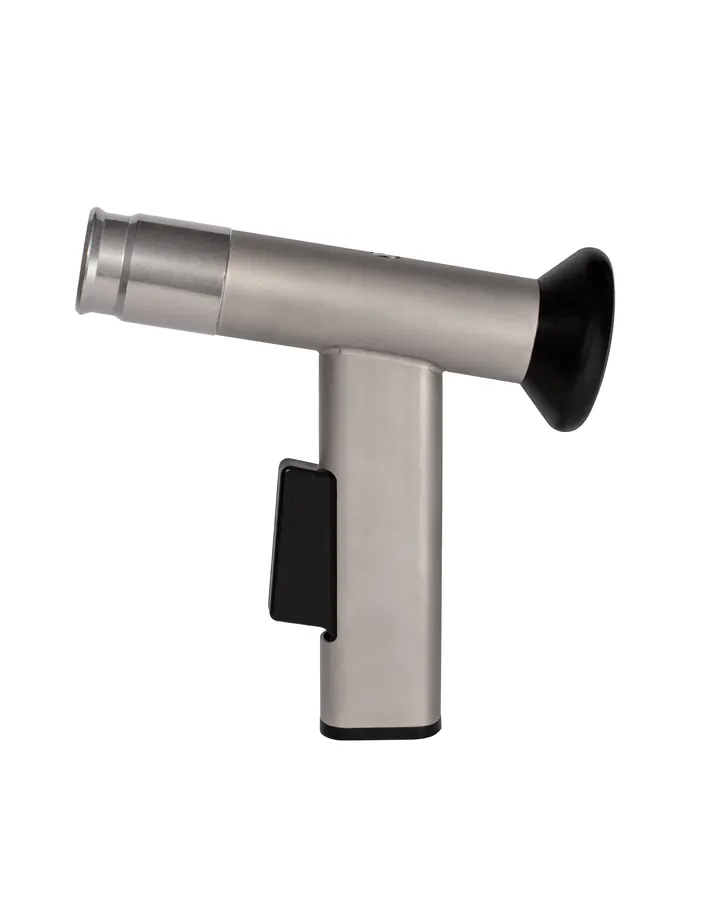
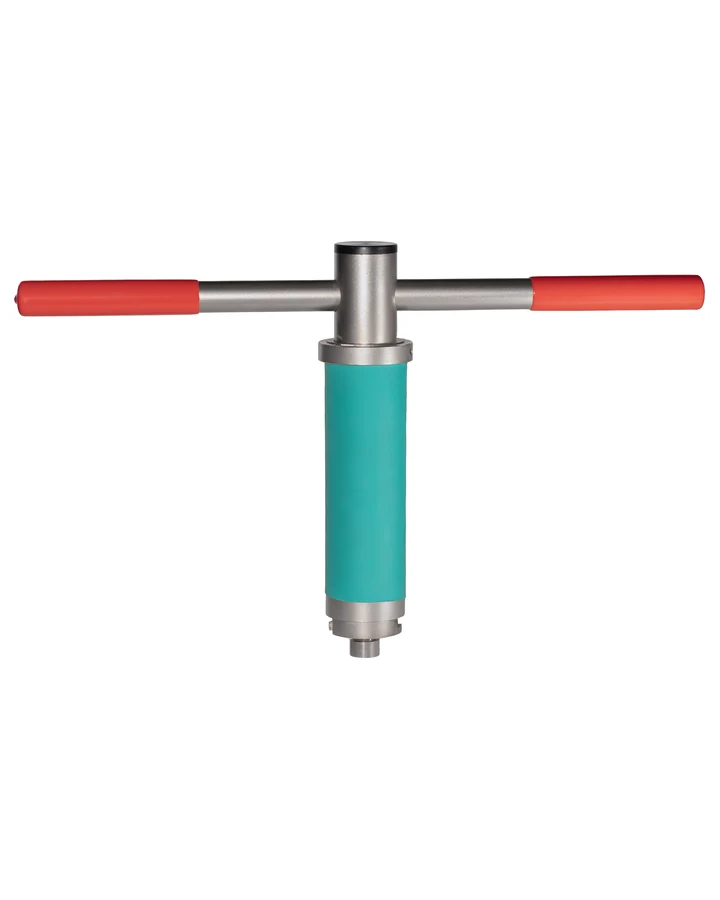
Three tools, three jobs. The decompression key is used to vent the keg first – an empty keg is not pressure-free. In small quantities you also use it to unscrew the spear straight away; above a certain quantity a screw-on adapter with a half-inch ratchet is the clearly better choice. The assembly gun releases the safety hook on the type A flat spear: only after that can the upper housing part be taken off and the spear lifted out of the keg – on a spear with a safety hook you get nowhere without it. The removal key belongs to the type S EU Sankey spear with a lock.
Removal and incoming inspection
Before removal the residual pressure is released. An empty keg is not pressure-free – the equilibrium pressure of the dissolved carbon dioxide builds up again and again and rises with temperature. There is a tool of its own for this, and it gets used.
Dismantling and measuring
Every single part against the tolerance. This is where the difference between reconditioning and cleaning shows: a valve disc whose seat has worn in will not be made tight again by any seal, however good.
Ultrasonic bath
Cleaning of the individual parts with food-safe, biodegradable agents. Ultrasound reaches gaps and grooves that no jet gets into – exactly the places where residues would otherwise remain.
Replacing wear parts
Seals are replaced, not cleaned. At every spear overhaul we renew the square seal and the CO₂ valve as a matter of principle. A seal that has bulged once is pre-damaged, even if it still holds at the moment.
Springs, by contrast, generally stay in. They are measured on a spring test rig; only what has lost its characteristic curve is replaced – usually a spear that has been forced down further than it is meant to go. That happens rarely.
Assembly
Retaining rings always new. A reused retaining ring is the classic cause of a spear that works loose in service.
Final check with calibrated torque
Screwing in is done with the torque the spear manufacturer specifies for the type in question, and with calibrated tools. There is no single figure for all of them – flat (A-type), EU Sankey (S-type), combi (M-type) and US Sankey (D-type) differ. As an order of magnitude the industry association names around 55 ft-lbs for screwed spears, that is about 75 Nm, and a re-tightening at around 35 ft-lbs, about 47 Nm. The manufacturer's data sheet remains decisive.
Too loose means leaking. Too tight means one of two things: a damaged neck thread – and that is a reason for scrapping – or a crushed housing seal that no longer seals afterwards. Neither can be seen on the keg from outside.
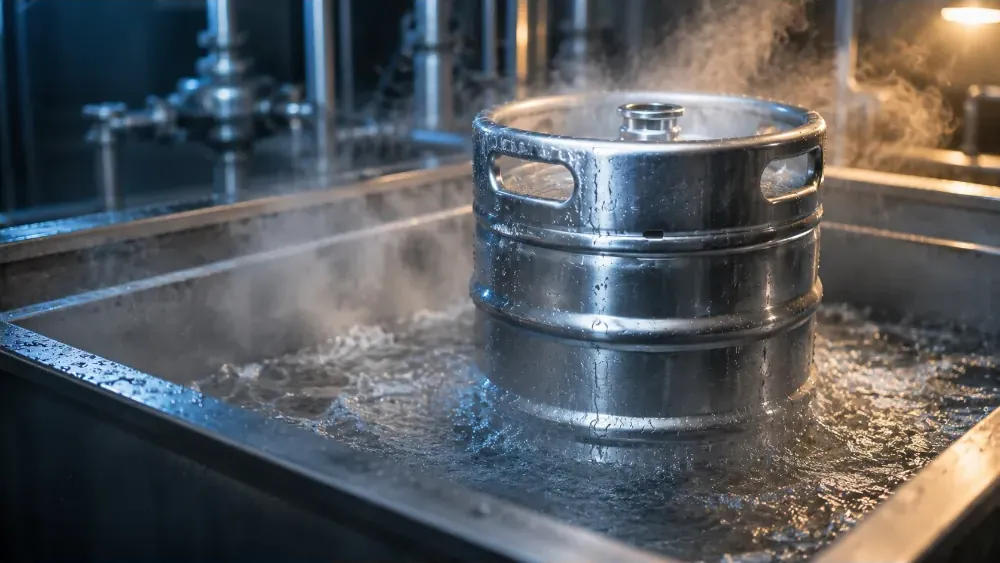
Test pressure and immersion tank
Only once the spear is in the keg is it tested. The complete keg is put under test pressure and then immersed. Leaks then show up as bubbles – on the spear itself, at the spear seat and on the keg body.
A small leak at a weld seam or under the spear seat cannot be found reliably in any other way. Without an immersion tank it stays invisible until the keg is standing at the customer's.
If you regularly unscrew the spear yourself
Smaller breweries without their own keg cleaning plant do not clean through the filling head but unscrew the spear every time. That is a workable route, but it has a consequence that is readily overlooked: the lower housing seal is essentially a single-use part. It is deformed when tightened and no longer seals reliably on the second installation.
Anyone working this way should plan for this seal as a consumable and keep it in stock. Otherwise a cleaning turns into a leaking keg.
The figure that is in no standard
The industry association recommends a complete overhaul of the spear and down tube after seven to eight years – earlier where handling is rough. That is the figure most often broken in practice, and the most common reason why an intact keg is scrapped over a worn valve. More on this in How many trips does my keg have left?
Seven to eight years is an upper limit, not a target. A look at the spears belongs in every visual inspection, and whatever stands out is replaced before then – often the seal is enough. A defective seal means beer loss, and that is hard cash. On top of that comes what a leaking keg does at the customer's: the trouble costs more than the seal kit.
Two operations hardly anyone knows about
Volume reduction
Our own list carries “volume reduction from 50 l to 30 l or 20 l” as a single item, without a word of explanation. Yet it is the most far-reaching operation in the whole catalogue.
What is meant is the change of the nominal capacity within the same keg type: the shell is shortened and re-welded, the keg becomes lower, the diameter stays. A 50-litre EURO keg becomes a 30-litre EURO keg with the same 395 millimetres of diameter.
When it pays off: when the container mix has shifted. Many operations have built up stocks of 50-litre kegs in recent years that they cannot get rid of, while demand is at 30 litres. A conversion is then cheaper than selling plus buying new – and the kegs stay in your own circuit. Because welding is involved, pickling, passivation and a pressure test are a mandatory part of it.
One restriction belongs with it, and you should know it beforehand: for the shortening a piece is cut out of the shell, and afterwards two new weld seams have to be laid so that the rolling rings stay in position. That only works cleanly on kegs that are not too badly dented. On a distorted shell even the cut does not run true, and neither does the seam after it. A certain amount of rejects therefore always has to be reckoned with.
If that is too uncertain for you: we also buy 50-litre kegs and supply 30-litre ones in exchange. For many operations that is the calmer route to the same goal.
Repairing the polyurethane jacket
On polyurethane-jacketed kegs a damaged jacket usually counts as a write-off. It is not: missing areas can be made good by casting with polyurethane foam, broken handles reconstructed over a supporting frame, and top and bottom rings replaced on partly jacketed designs.
A note that belongs with this: on many designs the burst disc sits under the jacket, at the bottom on the base dish. Escapes at this point cannot be seen from outside – the technical literature on keg inspection expressly lists “product escaping behind polyurethane jackets” as an inspection task of its own, one that needs additional equipment. Anyone reconditioning jacketed kegs has to be set up for it.
Marking – the step that decides the return
At the end of the overhaul comes the marking, and it is readily treated as cosmetics. It is not: a keg without a legible owner's marking is, on the way back, a found object without an address.
| Method | Durability | What for |
|---|---|---|
| Machine embossing | permanent, survives every cleaning | Serial number, owner |
| Electrolytic engraving | permanent, can show grey tones | Logo, lettering, codes |
| Metal plate | long-lasting, but removable | Retrofitted marking |
| Colour ring, band | limited | Separating product types in circulation |
| RFID transponder | depends on how it is attached | Machine tracking |
| Sticker | does not survive the washing plant | Nothing that is meant to last |
Why this hangs together: the ecological and the economic advantage of a reusable keg does not arise in manufacture, but over the trips. A keg that does not find its way back never earns its manufacture back. What keg shrinkage really costs works that through.
The questions you should be asking
If you are placing an overhaul order, two points tell the offers apart – and neither of them is on the lists.
- Are the seals replaced or only cleaned? “Spear overhauled” can mean either. The square seal and the CO₂ valve belong in new at every overhaul.
- Is pickling and passivation done after welding? Where welding has been done, a chromium-depleted zone lies under the temper colour. Brushing does not remove it – it tends to work the oxide particles in.
And a question about safety
Ask what the pressure test is done with. The test is carried out on the filled keg, with water or another medium – never on an empty keg holding only air. At the same pressure and volume, the stored energy of air relates to that of water as roughly 14,000 to 1. Anyone testing with air is working with a bomb.
In brief
At its core, a complete overhaul is not a cleaning process but a restoration of the geometry followed by the renewal of all wear parts. The cleaning is necessary and still the easiest part.
The two points on which quality is decided are on no process list: replacing the seals instead of cleaning them, and pickling and passivating after every welding operation.
Newsletter
New technical articles as soon as they are ready
About once a month: new articles, new calculators, what is moving in standards and packaging law – and offers from our range.
Read on
What happens in the washer before an overhaul, and where kegs fail there: What happens inside a keg washer